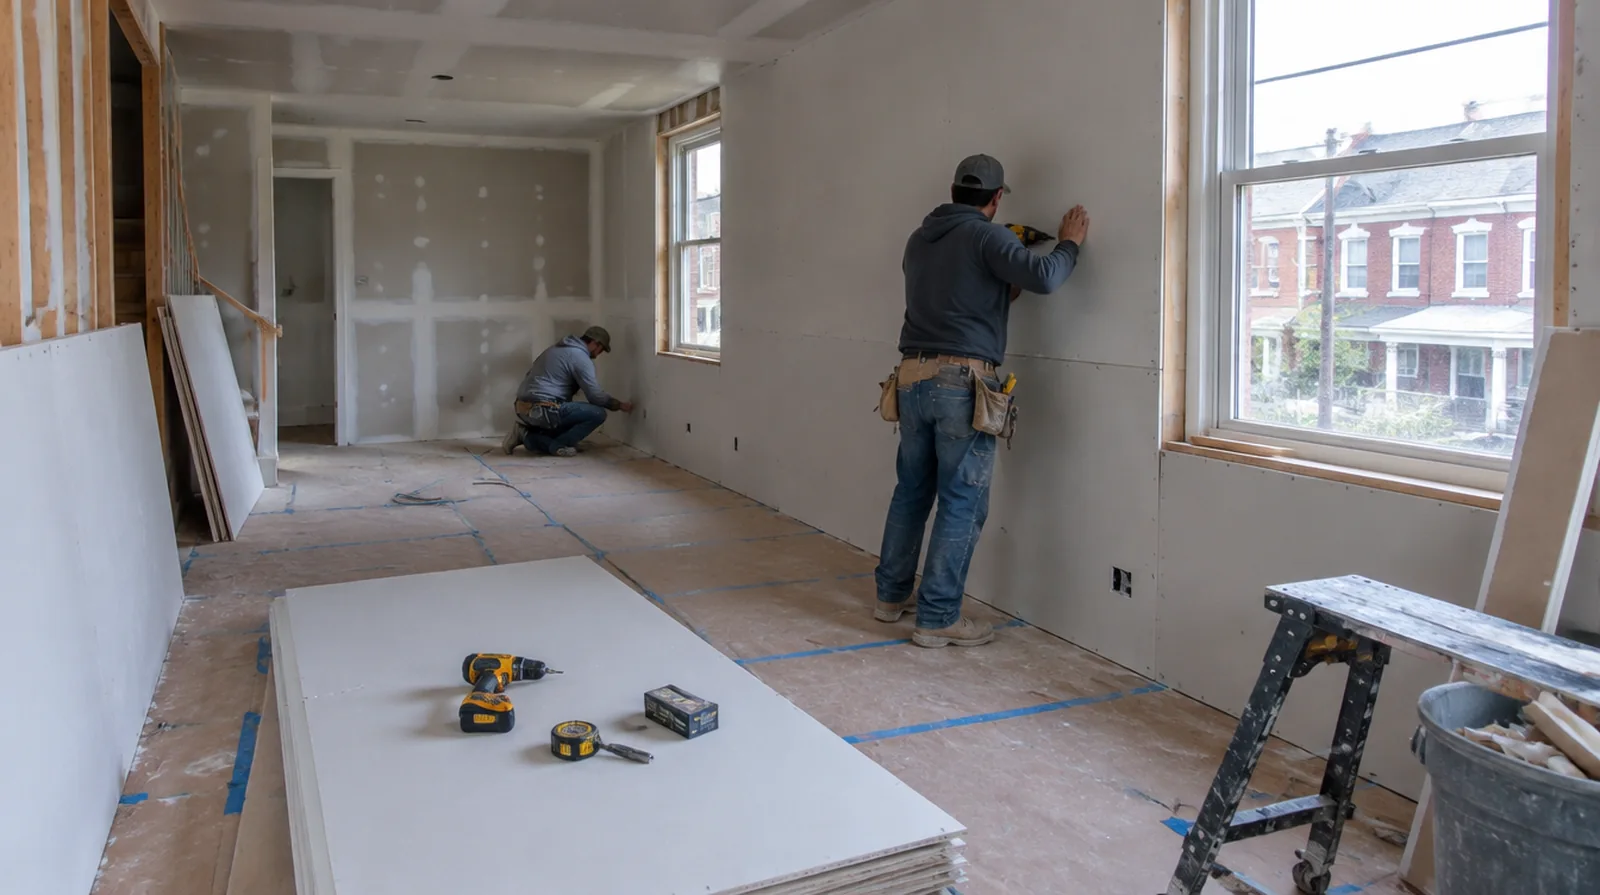
Control fastening depth
Proper fastening holds the gypsum securely while leaving its face paper intact. Overdriven screws and unsupported panel edges make later finishing more demanding and could produce visible defects. At an edge beside built in furniture, state whether the obstruction will be removed or whether finishing stops at the section that can be reached.
Inspect supporting framing
Drywall follows the framing underneath it, so bowed studs or uneven backing can show through the finished surface. Straightening or correcting support belongs in the scope before new sheets cover the wall surface. When building management controls access, agree delivery hours and common area protection before committing to a start or finish date.
Fit corners and openings
Door returns and exposed corners require a straight consistent edge before the final compound coats are applied. Select the exposed edge profile for the design and the level of contact it will receive. Where occupants have dust sensitivity concerns, agree containment and cleaning measures before settling the way the space will be staged.
Sequence the finishing work
Joint treatment needs suitable conditions within the room and time between coats rather than a rushed pass over damp material. Talk through how ventilation and access will be maintained while other renovation work continues. Where the wall meets fixed furniture, clarify whether removal is included or whether the finish will terminate at the accessible edge.
Define the finish level
A proposal should distinguish attached panels from a completed finish prepared for decorative coatings. The chosen sheen and grazing light conditions can require a higher surface standard in a prominent room. Where light reflects along the wall, inspect the complete plane instead of limiting the review to the edge immediately next to the repaired section.
Select appropriate panels
Choose sheet thickness and panel properties to suit the specified assembly and the intended location. Moisture resistant board is not a substitute for a required waterproofing system in a wet area. For a surface that will receive wall covering, share the product requirements early so the finishing stage supports the planned decorative treatment.
Treat perimeter details
Connections to adjoining surfaces are part of the wall detail, not merely decorative gaps. The relevant fire or acoustic assembly may specify particular perimeter seals and treatments. For a room that stays in use, set a workable boundary around construction while retaining the access people need for normal daily activities.
Measure the complete assembly
Calculate the board layout from all the surfaces and openings rather than the interior floor area alone. A measured layout helps reduce narrow infill strips and unnecessary joints around doors. When concealed damage is possible, establish how additional findings and any proposed removal will be recorded before the scope changes.
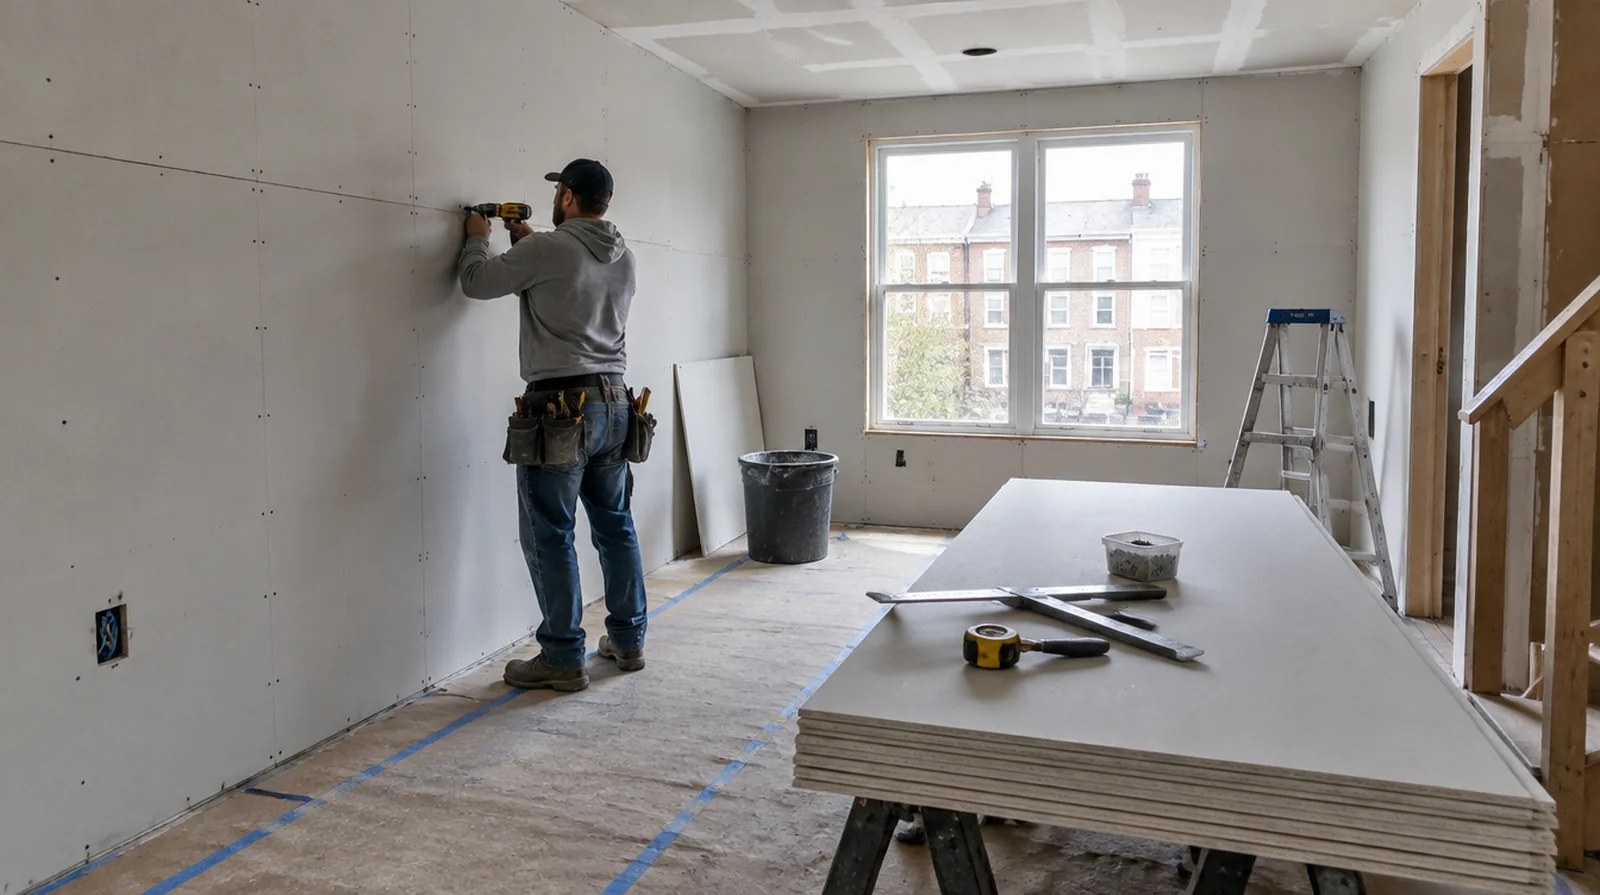
Lay out the joints
A thoughtful sheet layout limits awkward seams and keeps weak transitions away from the corners of openings. A sensible panel pattern makes both the fastening stage and the later joint treatment more straightforward. If the surface condition is uncertain, allow for an assessment that can distinguish stable material from layers that should never be covered.
Inspect before decoration
The most useful final review happens after the surface is dry and before cabinets or wall coverings hide the edges. Check the agreed lighting conditions and record any remaining preparation before painting starts. When a wall has repeated defects, keep a record of earlier repair attempts so a new assessment does not simply repeat an unsuccessful approach.
Project context in Reading
Humid Berks County summers slow drying in a closed back bedroom, so air movement between coats helps. Many Reading row homes still have plaster on lath, so a board patch needs to be shimmed flush with the older surface.
Scope questions before finishing
Before comparing two proposals, check that both include the same protection, finishing and cleanup boundaries instead of comparing totals alone.
When building management controls access, agree delivery hours and common area protection before committing to a start or finish date.
When damage followed other building work, describe the nearby alterations and the sequence between those changes and the first visible defect.
When the same defect has returned, share information about previous repair methods so the next assessment can consider why they did not last.
For a room that stays in use, set a workable boundary around construction while retaining the access people need for normal daily activities.
When the project space includes a doorway, check the clearance for panel movement as well as the amount of space available for finishing tools.
If the space will remain occupied, identify a practical separation between the work area and the space that still needs daily access.
Where a finished perimeter is prominent, decide whether trim stays in position or is removed before agreeing how the new surface meets that edge.
Where a future fixture will be installed, coordinate any required backing while the cavity is accessible rather than reopening the completed wall.
If the original finish is unusual, keep a small reference sample or a close photograph to support the discussion about blending and restoration.
When the history of a repair is uncertain, note when it became visible and whether its appearance has altered across different seasons.
If the surface condition is uncertain, allow for an assessment that can distinguish stable material from layers that should not be covered.
Explore the Reading drywall overview for related options, or read the project planning information before arranging the next stage.
More planning details for Reading
Painting the full wall from corner to corner hides the change between old plaster and new board more effectively. Street parking near Reading row houses is limited on weekdays, so material delivery should be planned in advance. Blending new board into old plaster usually means a wider skim feathered well beyond the repair outline.