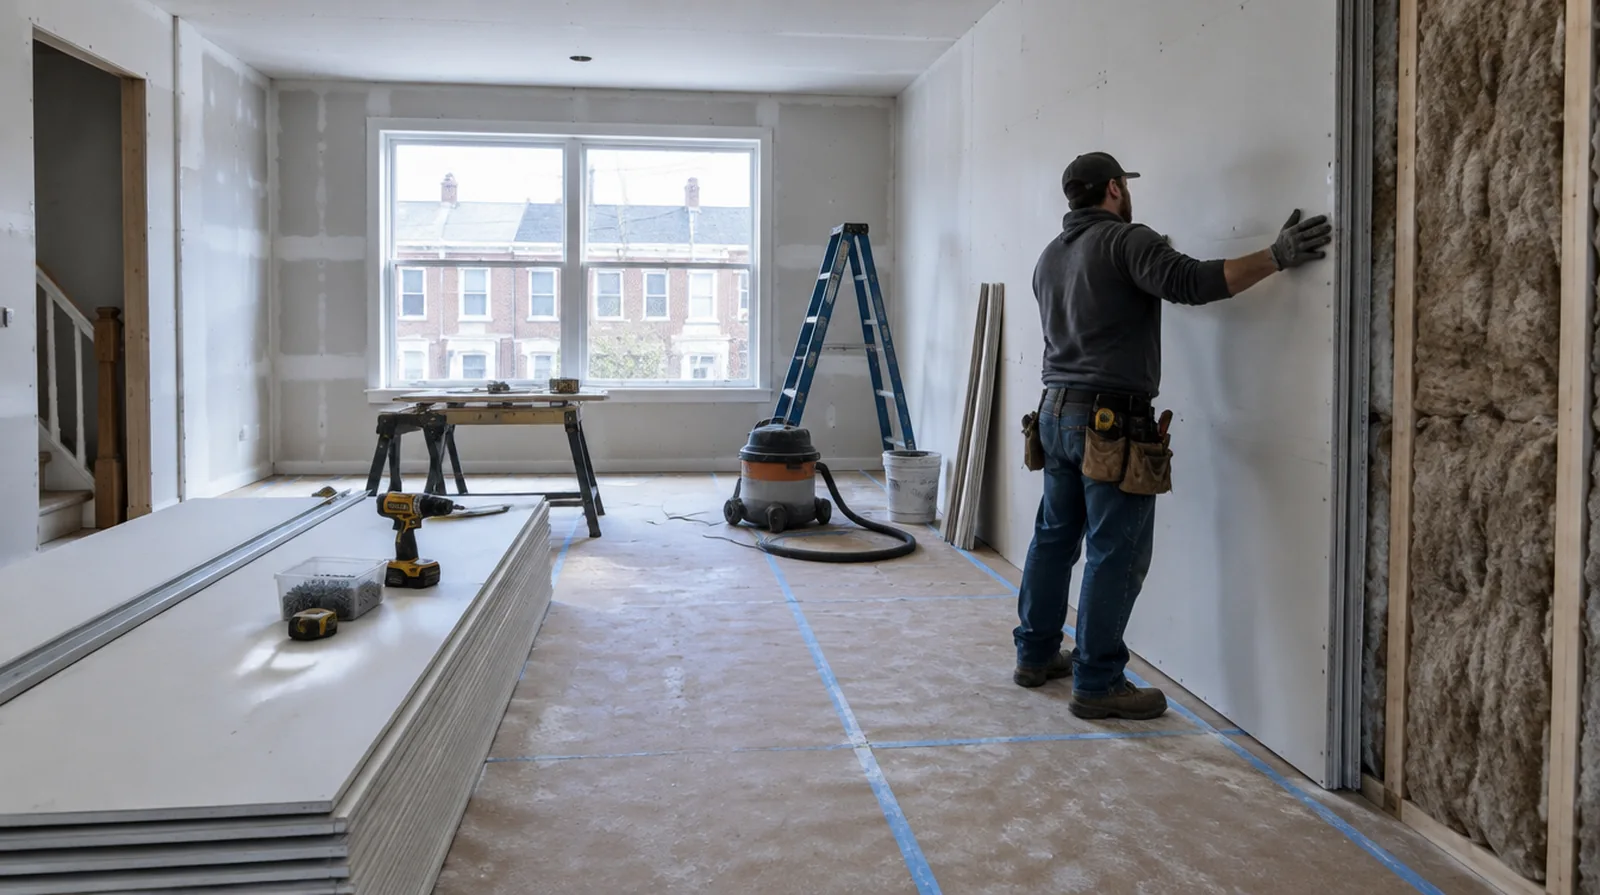
Explain verification limits
An installation scope does not itself establish a measured acoustic rating for a finished room. If a particular rating is required, discuss suitable design input and testing with an acoustic professional. When more damage could be hidden, ask how any added scope will be documented before extra material is removed or replaced.
Respect fire requirements
Sound control modifications must not undermine required fire separation. Verify suitable board, sealing and connection details before changing the current assembly. When building management controls access, agree delivery hours and common area protection before committing to a start or finish date.
Evaluate added thickness
Adding layers changes the relationship between the wall surface face, fittings and adjoining trim. Allow for outlet, doorway and edge adjustments so the sound control work has a complete noticeable finish. When photographs are used for an initial discussion, include a wide room view as well as a close view so scale and surrounding finishes are understandable.
Identify the noise path
Voices passing through a shared wall are different from footsteps transmitted through a floor structure. Different transmission paths call for differing assessments before a wall treatment is selected. For a project involving a building manager, confirm access hours and protection requirements before promising a start date or a short completion window.
Include flanking paths
Noise can bypass a treated partition through connected walls, ceilings and floors. A room level discussion helps explain why treating one surface may not resolve every noise complaint. When the same defect has returned, share information about previous repair methods so the next assessment can consider why they did not last.
Consider cavity access
An open partition offers distinct options from a finished wall that must remain largely intact. The estimate should explain what needs removal and how the room will be restored afterward. When the history of a repair is uncertain, note when it became visible and whether its appearance has altered across different seasons.
Avoid rigid bridges
Resilient components can lose effectiveness when fasteners or fittings create unintended solid connections. Check fastener and attachment details against the system guidance rather than judging only the noticeable wall. When a quote includes multiple visits, ask what happens during each stage and when the space needs to remain undisturbed between coats.
Review the whole assembly
Board layers, framing, insulation and edge details all contribute to acoustic behavior. Select a suitable tested or documented wall system rather than combining unrelated marketing specifications. If the proposal requires return visits, identify the purpose of each stage and the intervals during which finishing material needs to remain undisturbed.
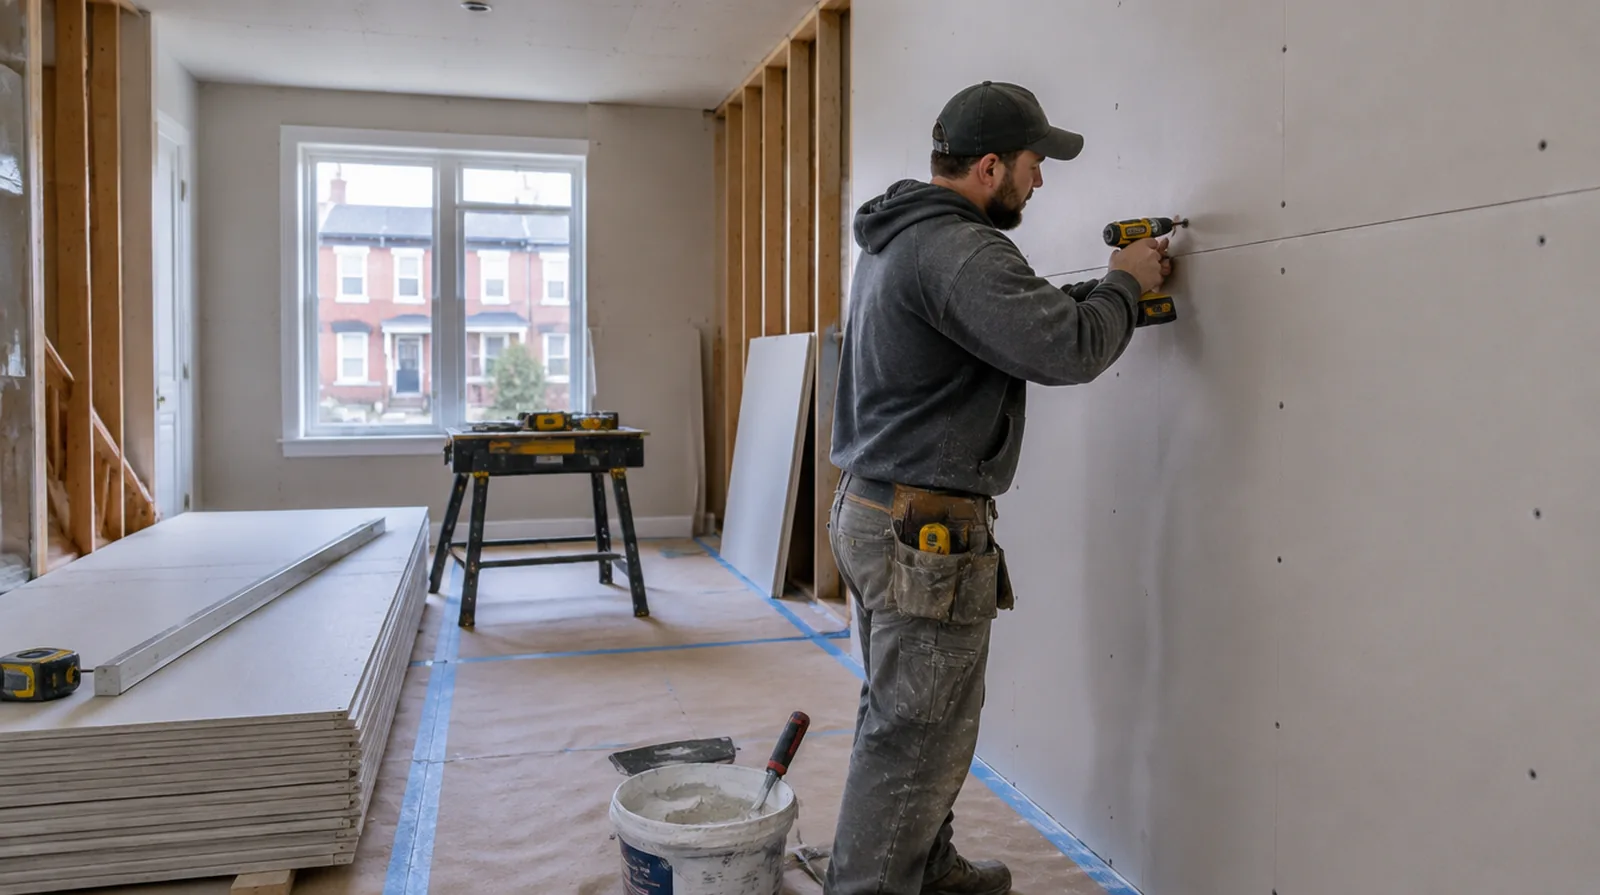
Set realistic goals
Adding board alone does not guarantee a quiet room when sound travels through doors or adjoining cavities. Talk through the expected improvement without treating a single material as a complete solution. Where light reflects along the wall, inspect the complete plane instead of limiting the review to the edge immediately next to the repaired section.
Address air leakage
Air gaps at wall edges and penetrations can weaken the benefit of other acoustic measures. Appropriate acoustic sealing belongs in the plan wherever the selected assembly requires it. Where light reflects along the wall, inspect the complete plane instead of limiting the review to the edge immediately next to the repaired section.
Project context in Reading
Narrow front doors and turning stairs in Reading rows may call for shorter sheets and a few extra joints. Painting the full wall from corner to corner hides the change between old plaster and new board more effectively.
Scope questions before finishing
When more damage could be hidden, ask how any added scope will be documented before extra material is removed or replaced.
If the problem developed after another renovation, explain which nearby materials or building systems changed before the damage became noticeable.
For a project involving a building manager, confirm access hours and protection requirements before promising a start date or a short completion window.
Before comparing two proposals, check that both include the same protection, finishing and cleanup boundaries rather than comparing totals alone.
Where light reflects along the wall, inspect the complete plane instead of limiting the review to the edge immediately next to the repaired section.
For a surface carrying numerous paint layers, discuss whether differences in the retained profile or sheen justify decorating a broader area.
For a wall receiving a decorative covering, provide its preparation requirements early sufficient for the drywall finish to support that product.
If the room will remain occupied, identify a workable separation between the project space and the space that still needs daily access.
When the decorative coating has been selected, tell the finisher its intended sheen and color while the preparation of the surface standard is still being agreed.
When damage followed other building work, describe the nearby alterations and the sequence between those changes and the first noticeable defect.
If a household member is sensitive to dust, discuss containment and cleaning expectations before choosing how to stage the space work.
For a small repair with extensive setup, compare the total scope rather than assuming the price should follow the hole dimensions alone.
Explore the Reading drywall overview for related options, or read the project planning information before arranging the next stage.
More planning details for Reading
Radiator heat in winter can dry an old plaster wall enough to reopen hairline cracks along the ceiling line. Blending new board into old plaster usually means a wider skim feathered well beyond the repair outline. A crack that follows a ceiling joist in an old row may reflect plaster keys that have let go rather than surface wear.