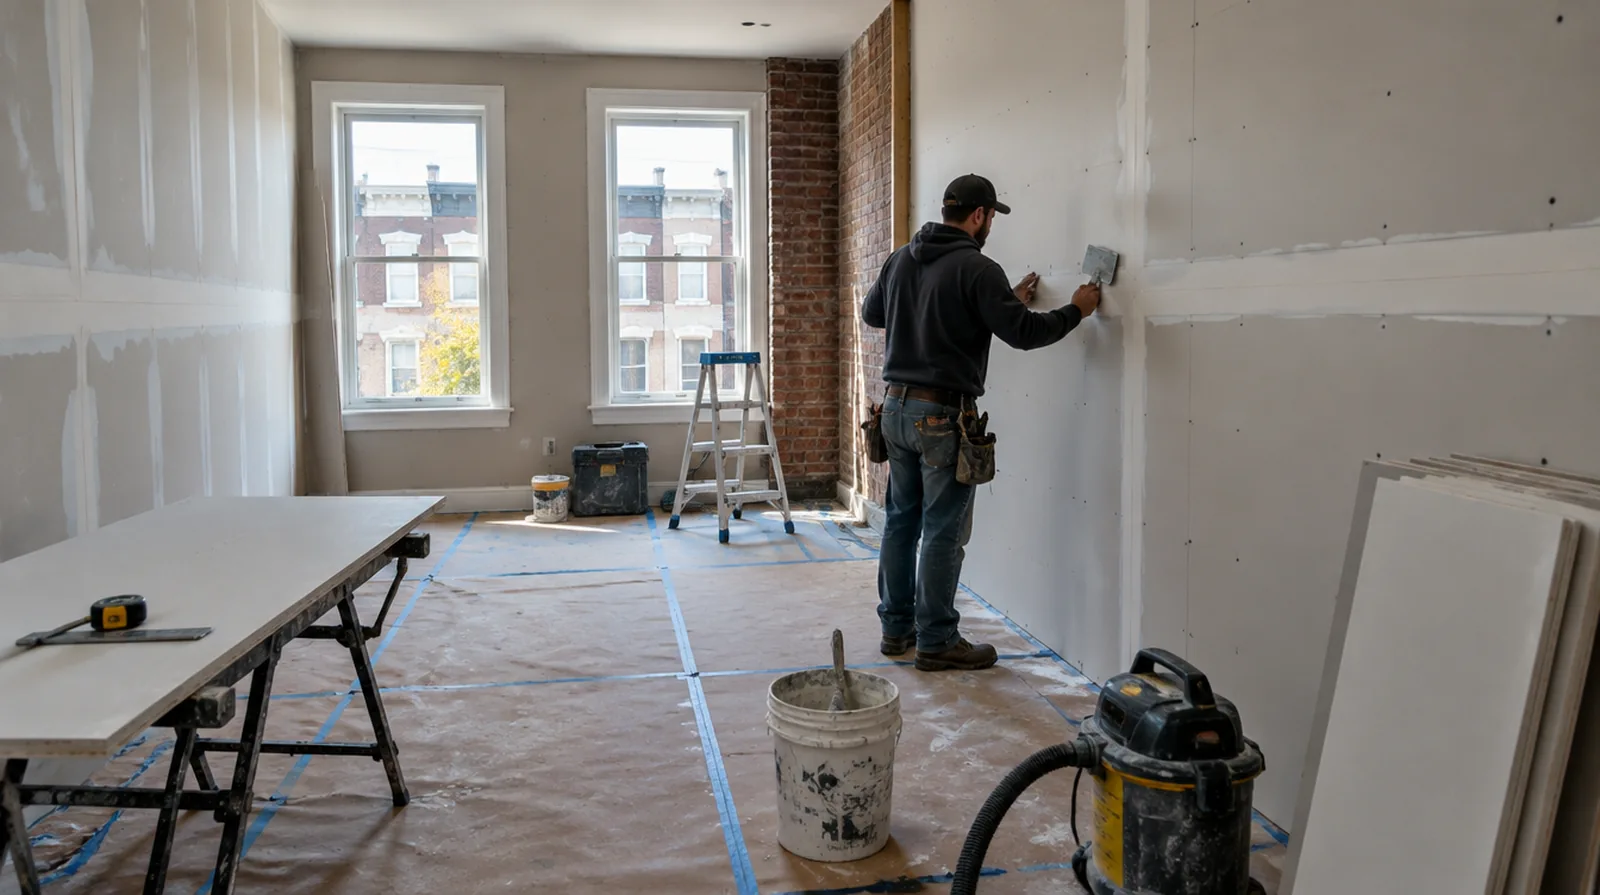
Identify the existing pattern
First determine how the current texture creates its pattern and relief. The existing wall ought to be examined in the actual room lighting before selecting a matching method. For a wall receiving a decorative covering, provide its preparation requirements early enough for the drywall finish to support that product.
Consider hand applied surfaces
Troweled textures need attention to tool direction, pressure and spacing between repeated shapes. A sample is particularly helpful when the original finish was created without a regular sprayed pattern. If there is a fixed move in date, reserve sufficient time for the coating stages after drywall work rather than counting only the installation period.
Check the underlying repair
A decorative pattern will not reliably disguise a ridge or an uneven board joint underneath it. Complete a stable level repair before trying to reproduce the surrounding texture. Where the wall meets fixed furniture, clarify whether removal is included or whether the finish will terminate at the accessible edge.
Use appropriate primer
A new texture and the painted wall around it can take up paint unevenly. A suitable primer helps the paint system perform consistently without changing the texture profile unnecessarily. When comparing competing estimates, make sure their protection, surface finish and disposal allowances describe equivalent work before comparing the final prices.
Set realistic blend expectations
Age, paint buildup and irregular original application can limit how closely a patch can blend. If local matching remains obvious, discuss whether a wider surface treatment would be preferable. For walls beside bright windows, review a dry sample from an oblique angle as well as looking straight at the repaired surface.
Blend beyond the patch
A sharp rectangular transition can expose the repair even when the new pattern is otherwise similar. Gradually extending the texture into the surrounding surface may make the blend less abrupt. Where flooring is staying in place, agree on protective coverings and check that tools and material handling will not damage the noticeable finish.
Allow time before painting
Applying paint before the texture has dried can disturb the pattern or produce uneven absorption. Establish whether the proposal includes that decorative stage or hands the surface over to another trade. When a wall has repeated defects, keep a record of earlier repair attempts so a new assessment does not simply repeat an unsuccessful approach.
Prepare a sample area
A small test helps establish particle size, spacing and the amount of flattening needed. Approve the sample before extending the treatment across the entire repaired area. If the problem developed after another renovation, explain which nearby materials or building systems changed before the damage became noticeable.
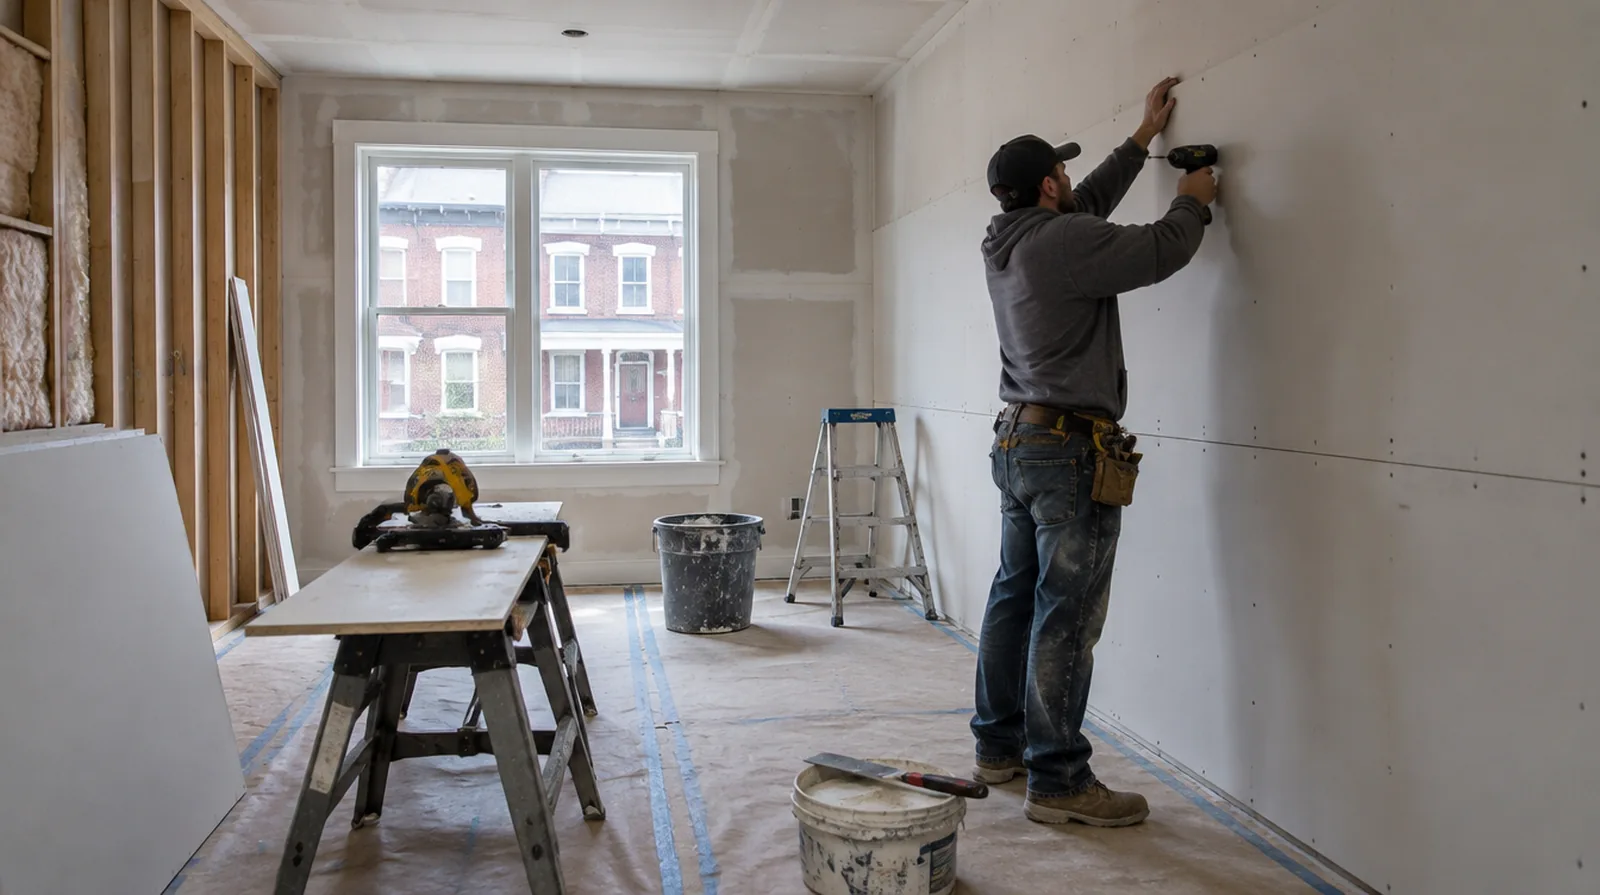
Study the paint layers
Older paint coats may have filled or rounded the original texture profile. A fresh application may need adjustment to resemble the current surface rather than the original texture recipe. When reviewing the finished work, use the agreed lighting and natural room viewpoints so the assessment reflects the intended use of the space.
Judge from normal positions
Close inspection of a wet sample is less useful than reviewing the dry finish from ordinary room viewpoints. The planned coating sheen and oblique light both belong in the final appearance discussion. At a surface receiving strong window light, review a dried trial from the side in addition to the normal straight view of the wall surface.
Project context in Reading
Humid Berks County summers slow drying in a closed back bedroom, so air movement between coats helps. Many Reading row homes still have plaster on lath, so a board patch needs to be shimmed flush with the older surface.
Scope questions before finishing
If the surface condition is uncertain, allow for an assessment that can distinguish stable material from layers that ought not to be covered.
If the room will remain occupied, identify a practical separation between the work area and the space that still needs daily access.
If the ceiling or wall includes fittings, identify the person responsible for removing and reinstalling each item before the work begins.
Where a neat final edge matters, agree whether the finish ends against existing trim or whether that trim will be removed and replaced.
If access passes through a shared space, arrange protection and a delivery route that do not unnecessarily obstruct other occupants.
For a surface that will receive wall covering, share the product requirements early so the finishing stage supports the planned decorative treatment.
When concealed damage is possible, establish how additional findings and any proposed removal will be recorded before the scope changes.
At a surface receiving strong window light, review a dried trial from the side in addition to the normal straight view of the wall surface.
For a tightly furnished room, plan temporary storage and the minimum working clearance before material is carried into the property.
While a removed panel exposes the wall surface cavity, complete the necessary review of concealed work before replacement board closes the opening.
If the completion date matters most, allow for intervals between coats as well as active labor rather than assuming the entire process happens continuously.
When a wall has repeated defects, keep a record of earlier repair attempts so a new assessment does not simply repeat an unsuccessful approach.
Explore the Reading drywall overview for related options, or read the project planning information before arranging the next stage.
More planning details for Reading
Blending new board into old plaster usually means a wider skim feathered well beyond the repair outline. A crack that follows a ceiling joist in an old row may reflect plaster keys that have let go rather than surface wear. Painting the full wall from corner to corner hides the change between old plaster and new board more effectively.