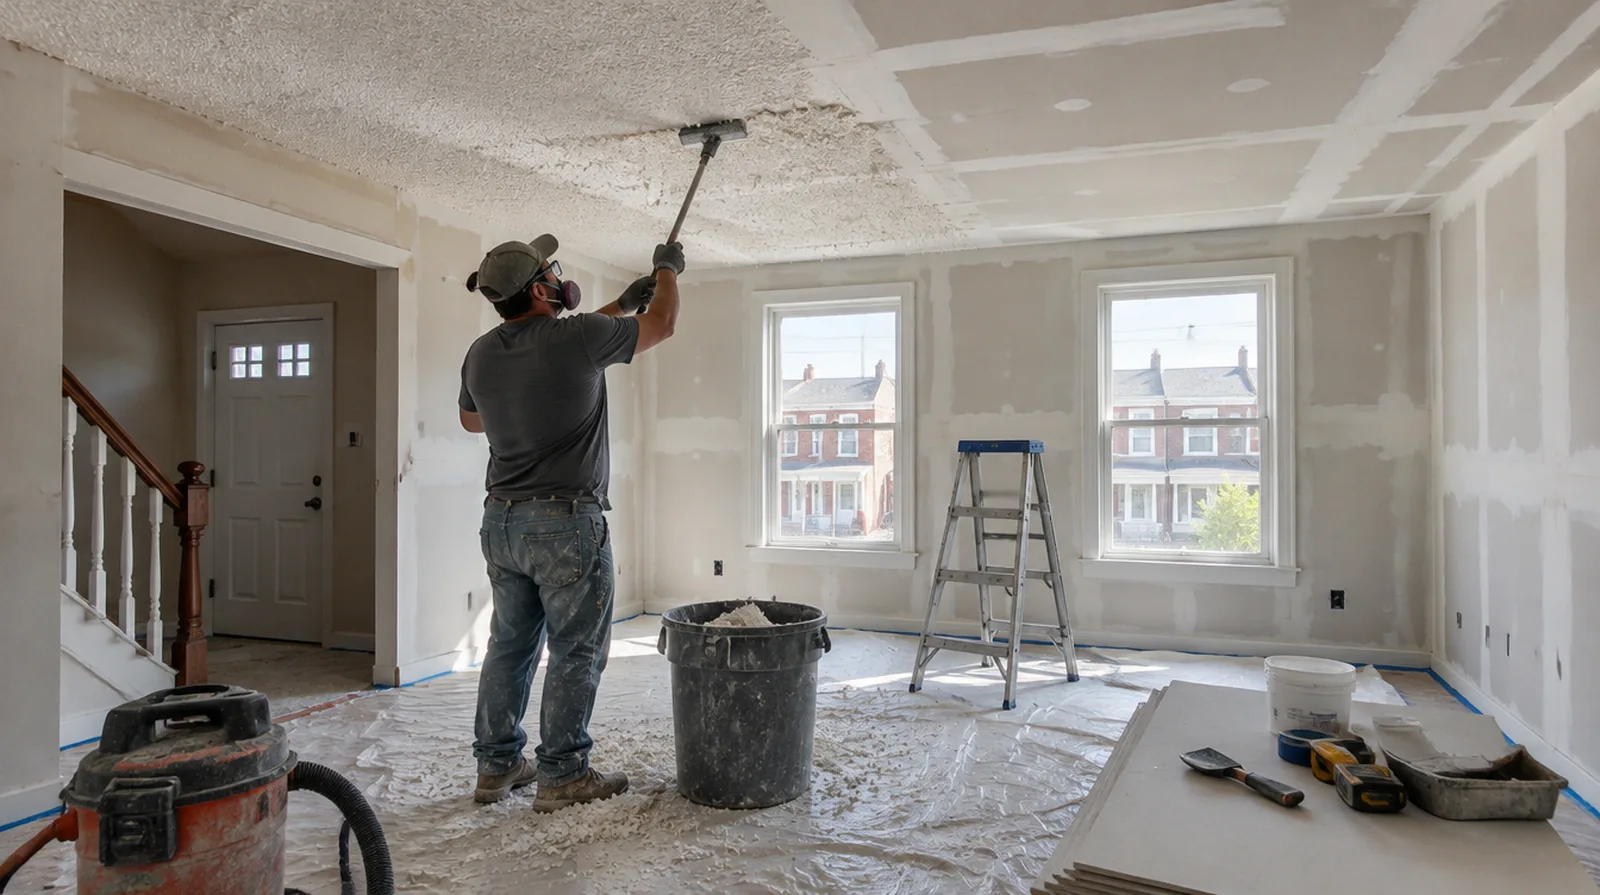
Avoid unnecessary saturation
Removal techniques ought not to soak and weaken the gypsum board beneath the coating. The assessment needs to consider how the existing finish responds and what the substrate can tolerate. For a small repair with extensive setup, compare the total scope instead of assuming the price should follow the hole dimensions alone.
Establish material safety
Do not disturb an older ceiling texture until any material safety concerns have been evaluated. Arrange qualified testing where warranted and follow applicable requirements before disturbing the material. For a repair that crosses several surfaces, measure the affected planes separately so the estimate can explain where each finishing treatment starts and stops.
Plan cleanup and reopening
Allow for debris removal, drying and decorating instead of assuming the interior is complete immediately after scraping. Allow for drying and painting time instead of assuming the space is usable immediately after scraping. If access passes through a shared space, arrange protection and a delivery route that do not unnecessarily obstruct other occupants.
Plan fixture coordination
Light fittings, alarms and other ceiling devices may need separate handling by the suitable trade. The scope should identify who disconnects and reinstalls them instead of leaving that responsibility unclear. If the project is part of a larger remodel, settle the sequence with flooring, trim and cabinet work before setting a final finishing date.
Confirm primer and paint
The newly exposed and repaired ceiling needs an suitable coating plan after it dries. Define whether decoration is included or whether the drywall handover ends at preparation for coatings. If the completion date matters most, allow for intervals between coats as well as active labor instead of assuming the entire process happens continuously.
Choose the final surface
A smooth ceiling and a new decorative texture involve distinct levels of preparation. Decide the intended appearance before pricing so the finishing work supports the right result. In a room with little free floor space, identify temporary storage for belongings and establish adequate clearance for the work before delivery.
Account for side lighting
Windows and ceiling fixtures can expose shallow ridges once the heavy texture is gone. Broader finishing or a skim coat may be needed where the original surface was never intended to remain smooth. Before comparing two proposals, check that both include the same protection, finishing and cleanup boundaries instead of comparing totals alone.
Review ceiling condition
A textured ceiling can hide old repairs and seams that were never prepared for a smooth appearance. A smooth replacement finish may require additional repair after the coating has been safely removed. When damage followed other building work, describe the nearby alterations and the sequence between those changes and the first visible defect.
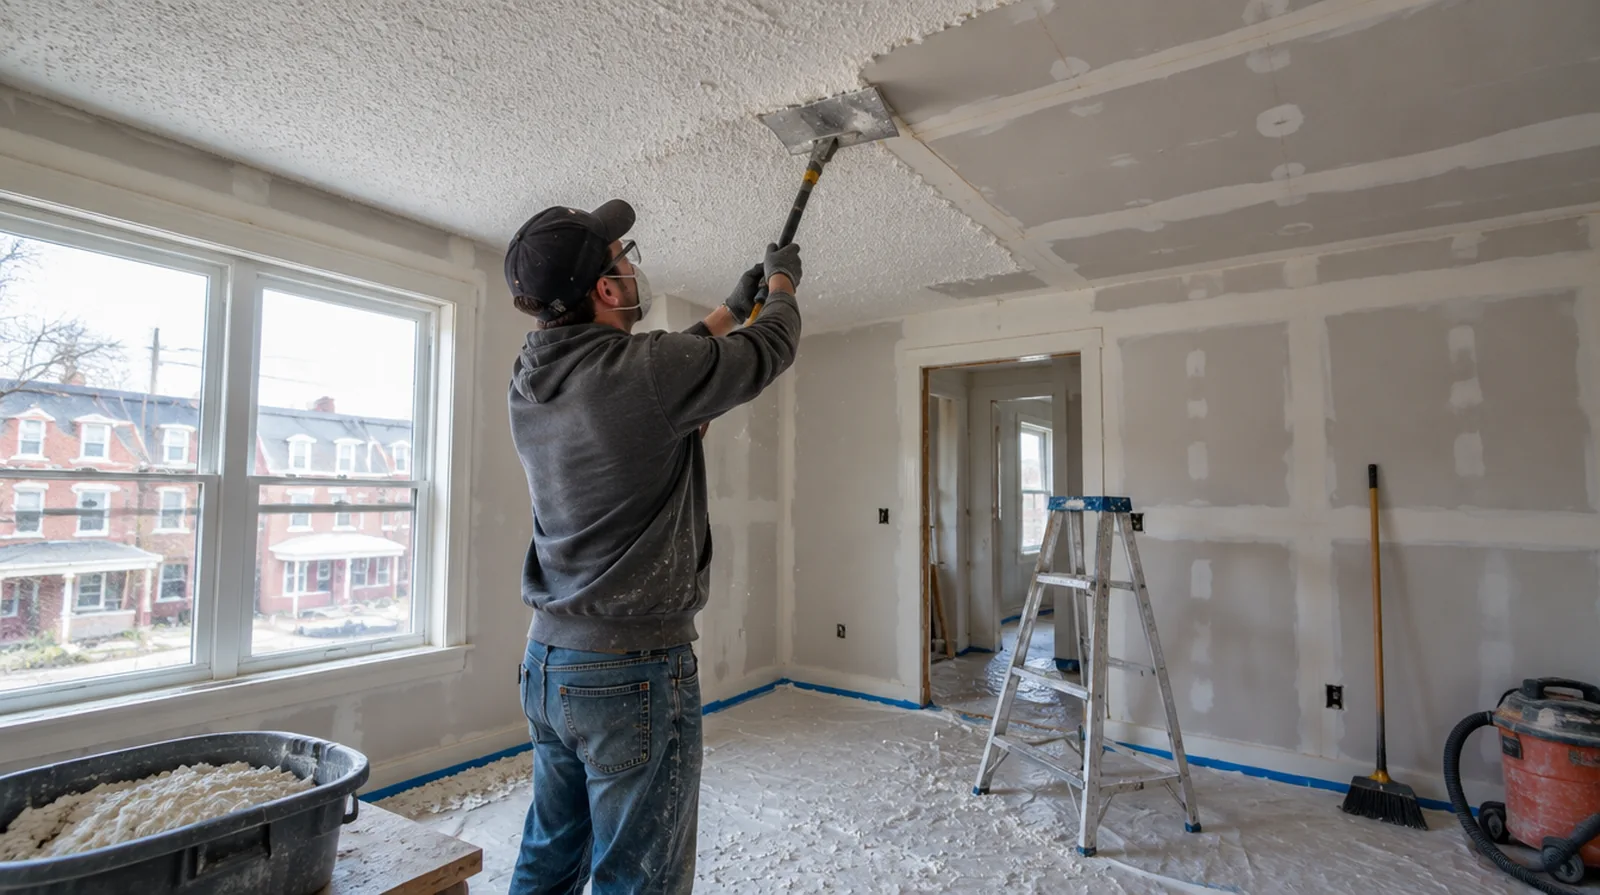
Protect the entire room
Ceiling removal creates overhead debris that can reach walls, floors and fixtures. Arrange masking, furniture relocation and a suitable removal route instead of covering only a small patch below. If the proposal requires return visits, identify the purpose of each stage and the intervals during which finishing material needs to remain undisturbed.
Repair exposed imperfections
Removal can uncover damaged paper or shallow defects that must be stabilized before finishing. The repair allowance should be discussed before the original texture is removed. If the ceiling or wall includes fittings, identify the person responsible for removing and reinstalling each item before the work begins.
Project context in Reading
Blending new board into old plaster usually means a wider skim feathered well beyond the repair outline. Original picture rail and plaster crown in older rows should be protected before any cutting begins.
Scope questions before finishing
For a tightly furnished room, plan temporary storage and the minimum working clearance before material is carried into the property.
If the interior will remain occupied, identify a workable separation between the project space and the space that still needs daily access.
For a distinctive existing pattern, retain a reference sample or detailed picture to make the matching discussion more specific.
When the work area includes a doorway, check the clearance for panel movement as well as the amount of space available for finishing tools.
For a room that stays in use, set a workable boundary around construction while retaining the access people need for normal daily activities.
Where flooring is staying in place, agree on protective coverings and check that tools and material handling will not damage the visible finish.
Where existing floors will remain, specify protective measures and review the path used by panels, equipment and finishing tools.
For a small repair with extensive setup, compare the total scope rather than assuming the price should follow the hole dimensions alone.
If the wall work belongs to a broader renovation, coordinate its order with flooring, cabinetry and trim instead of scheduling finishing in isolation.
When the history of a repair is uncertain, note when it became visible and whether its appearance has altered across distinct seasons.
For an initial assessment from pictures, provide an overall room photograph and a detailed view of the defect so both context and scale are apparent.
When damage followed other building work, describe the nearby alterations and the sequence between those changes and the first visible defect.
Explore the Reading drywall overview for related options, or read the project planning information before arranging the next stage.
More planning details for Reading
Shared brick party walls carry noise to the neighbor, which makes agreed working hours part of a Reading project plan. Street parking near Reading row houses is limited on weekdays, so material delivery should be planned in advance. Radiator heat in winter can dry an old plaster wall enough to reopen hairline cracks along the ceiling line.